This class is a fast-paced but thorough introduction to the Arduino microcontroller board and beginning electronics. Topics include the Arduino micro-controller, digital and analog interfacing of basic components, and structured programming techniques.
This is a Hands-on Class. You’ll learn much more by building circuits and writing programs yourself than by just watching someone else do it. To that end…
You will need:
- A Laptop computer (Mac, Windows, or Linux)
- Laptop power supply (It’s a 4-hour class!)
- An Arduino Starter Kit (see links below)
Step 1
Register for class through the L.A. Robotics Club Meetup Page and pay your registration fee. The fee covers the class itself (and helps pay for Club expenses.) An Arduino Starter Kit costs extra (see Step 2).
Step 2
Obtain an Arudino Starter Kit. Your starter kit should include:
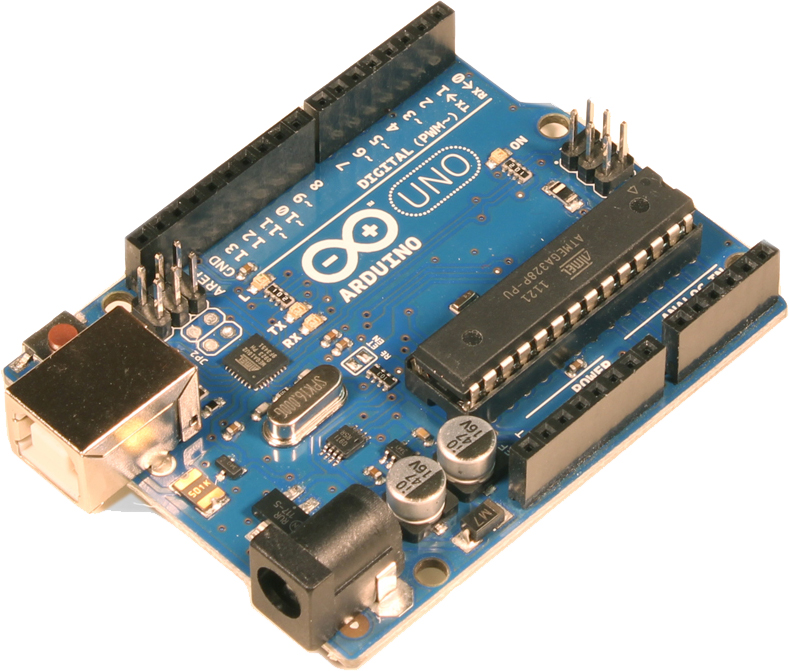
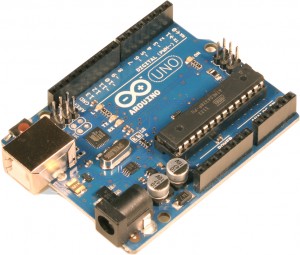
- An Arduino Uno Microcontroller board or an Arduino compatible of some sort
- A USB cable to connect the Arduino to your laptop computer
- A solderless breadboard for building temporary circuits
- Multi-color hookup wire for making connections between components and the Arduino
- A few assorted Light Emitting Diodes (LEDs) and matching resistors
- A momentary push-button switch and matching resistor
- A variable resistor (Potentiometer)
Many starter kits contain additional components and prices vary a bit. Keep in mind mail-order kits are sometimes out of stock and take time to ship so plan your purchase accordingly. See below for a list of affordable starter kits including a couple from L.A. Robotics Club member Tim Laren (with 5% going back to the Club!).
Step 3
Download and install the free Arduino software from Arduino.cc. Depending on your particular Arduino board and which Operating Software your Laptop is using you may need to install additional drivers. See the “Getting Started” section at Arduino.cc for more information.
Step 4
Test your Arduino board and Laptop computer to make sure you can successfully download and run Sketches (Arduino Computer Programs) from your Laptop to the Arduino
Most online examples and the Getting Started section of the Arudino.cc website have you start by building a simple LED circuit and running the “Blink” program, but testing your setup is even easier using this procedure:
- Connect your Arudino board to your Laptop with the USB cable
(The green ‘ON’ LED should light up on the Arduino indicating it has power) - Run the Arduino software.
(An empty sketch window will open) - From the menu select File > Examples > Communication > ASCIITable
(The ASCIITable Sketch will load) - Select the Upload icon (the right-facing arrow) from the Tool Bar at the top of the sketch window
- The Status bar at the bottom of the window should say ‘Compiling’ then ‘Uploading’ then ‘Done’
(Any errors will be displayed below in orange – see below) - Select the Serial Monitor icon (the magnifying glass) from the Tool Bar
- The Serial Monitor window will open and should print out a table of character and number values
If you see the table print out in the Serial Monitor window then the ASCIITable sketch has been uploaded to the Arduino board and is running successfully. The output you see is coming from the Arduino itself, not your laptop.
If you get errors during the upload process something is not configured correctly with your Arduino, Laptop, or USB connection. See the troubleshooting guides at Arduino.cc or post a request for help to our Meetup class listing for assistance.
Please make sure you can successfully upload and run a Sketch on your Arduino board BEFORE the class date. The more time we have to spend at the class getting boards to upload the less time we have to learn actual electronics and programming.
Arduino Starter Kits
Recommended!
Tim Laren of Hacker.Instanet.net
L.A. Robotics Club member Tim Laren offers a couple of fantastic starter kits with a larger selection of electronic components and better prices than most of the other kits below. As an added benefit, Tim will usually deliver your kit to our meetings so you save on shipping, and he gives 5% of sales to the L.A. Robotics Club!
Arduino Budget Starter Kit ($32.95)
Adafruit Budget Pack for Arduino ($49.50)
In my opinion the best of the online starter kits. This one features a larger breadboard and all the basic components you’ll need to get started including LEDs, Button Switches, Potentiometers, and even a Light Sensor. Plus nice extras like a USB cable and rubber feet for the bottom of the Arduino board.
My only “don’t like” in this kit is their choice of potentiometers (the little blue knob components) as they are small and might be difficult to turn while mounted on a breadboard).
The main problem with this kit is it’s been in and out of stock recently. If it’s back ordered keep an eye on it and buy when they’re available.
Adafruit Budget Pack for Arduino ($49.50)
Starter Kit for RedBoard ($49.95)
Roughly the same as the Adafruit kit above but with a Sparkfun Arduino compatible board instead of the UNO R3, a smaller mini-breadboard and a couple of extra components like a flex sensor, a “soft pot”, and a piezo buzzer
These may be easier to find in stock that the Adafruit kit.
SparkFun Starter Kit for RedBoard ($49.95)
Maker Shed Getting Started with Arduino Kit ($64.99)
This one is a bit overpriced for the contents, basically the same as the Adafruit kit, with the larger sized breadboard, a 9v battery power option, and some slight variation in the basic electronic components. Really not much to recommend it over the competition.